Display Menus as a Radio, Checkbox or Select list
Description
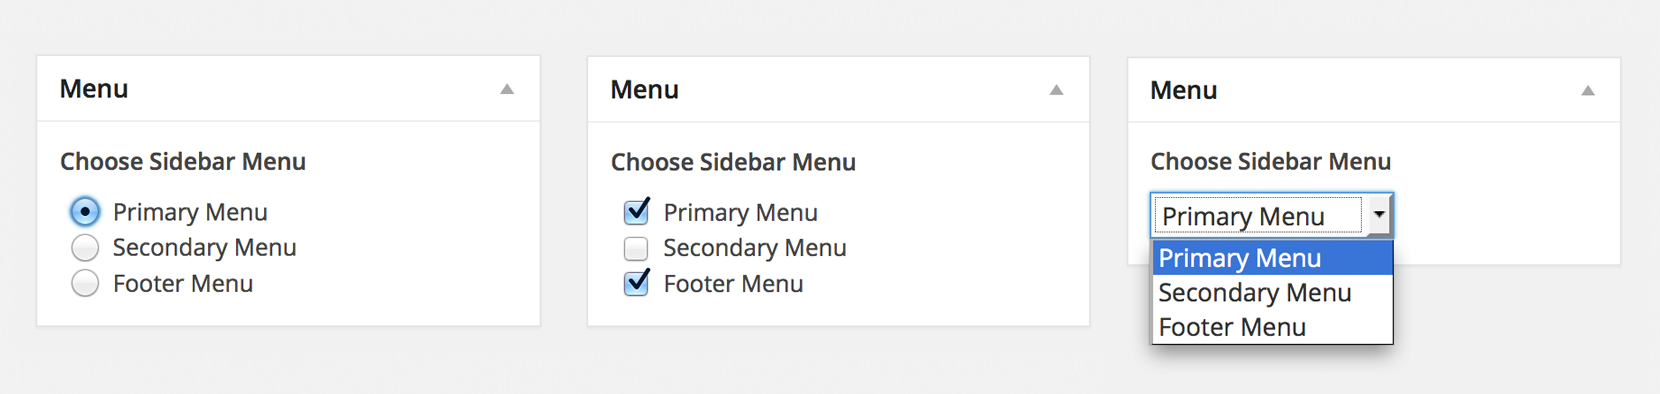
Using Piklist you can easily display your Menus as Radio, Checkboxes or a Select list (dropdowns). Easily include them in custom theme settings, or when creating posts. This simple tutorial will show you how.
Before you start this tutorial:
- Install Piklist like you would any other WordPress plugin.
- Decide if you are going to add the code in this tutorial to your custom plugin or your theme. This will define how to setup your Piklist folder structure.
- If you're new to Piklist, you may want to review the "Getting Started" tutorial first. It gives you a good overview of how Piklist works.
We’re are going to use the WordPress function wp_get_nav_menus(), to get our menus. This function stores data in an array, and with Piklist, parsing an array and displaying it as a list is really easy. This array stores all menus in an Object, and then breaks them out. You have access to fields like term_id, name, slug, etc. We are going to assign each item in the dropdown to the slug, but show the name:
piklist('field', array(
  'type' => 'select'
  ,'field' => 'sidebar_left'
  ,'label' => 'Choose Sidebar Menu'
  ,'value' => 'none'
  ,'choices' => array(
      '' => 'Choose Menu'
    )
    + piklist(wp_get_nav_menus()
    ,array(
      'slug'
      ,'name'
    )
  )
));
Let’s take a look at this code:
- First we created a standard Piklist Select list.
- The only major change is the choices array. We told Piklist to use the wp_get_nav_menus() function.
- The next array tells Piklist what should be the KEY for the field, and what should be the VALUE. In this case we selected slug as the KEY, and name as the VALUE to show in the list.
Checkbox:
To make this a Checkbox, just change 'type' => 'select', to 'type' => 'checkbox'.
Radio Buttons:
To make this Radio Buttons, just change 'type' => 'select', to 'type' => 'radio'.
Yes, it’s that easy!